Back in May of last year, I finally made the move and got myself an A7III. I had wanted a Sony body for quite some time but was hesitant to switch. Before getting into my long-term review, I’ll first explain what made me make the switch.
When I sold my original Canon 6D, I was left to use my M5 for a little over a month. During that time, I grew to prefer the EVF. I loved the ability to always see my exposure before I took the shot, rather than chimping after. This is also possible by shooting in live view on a DSLR. Although I personally find when holding it in this way, it reduces my steadiness.
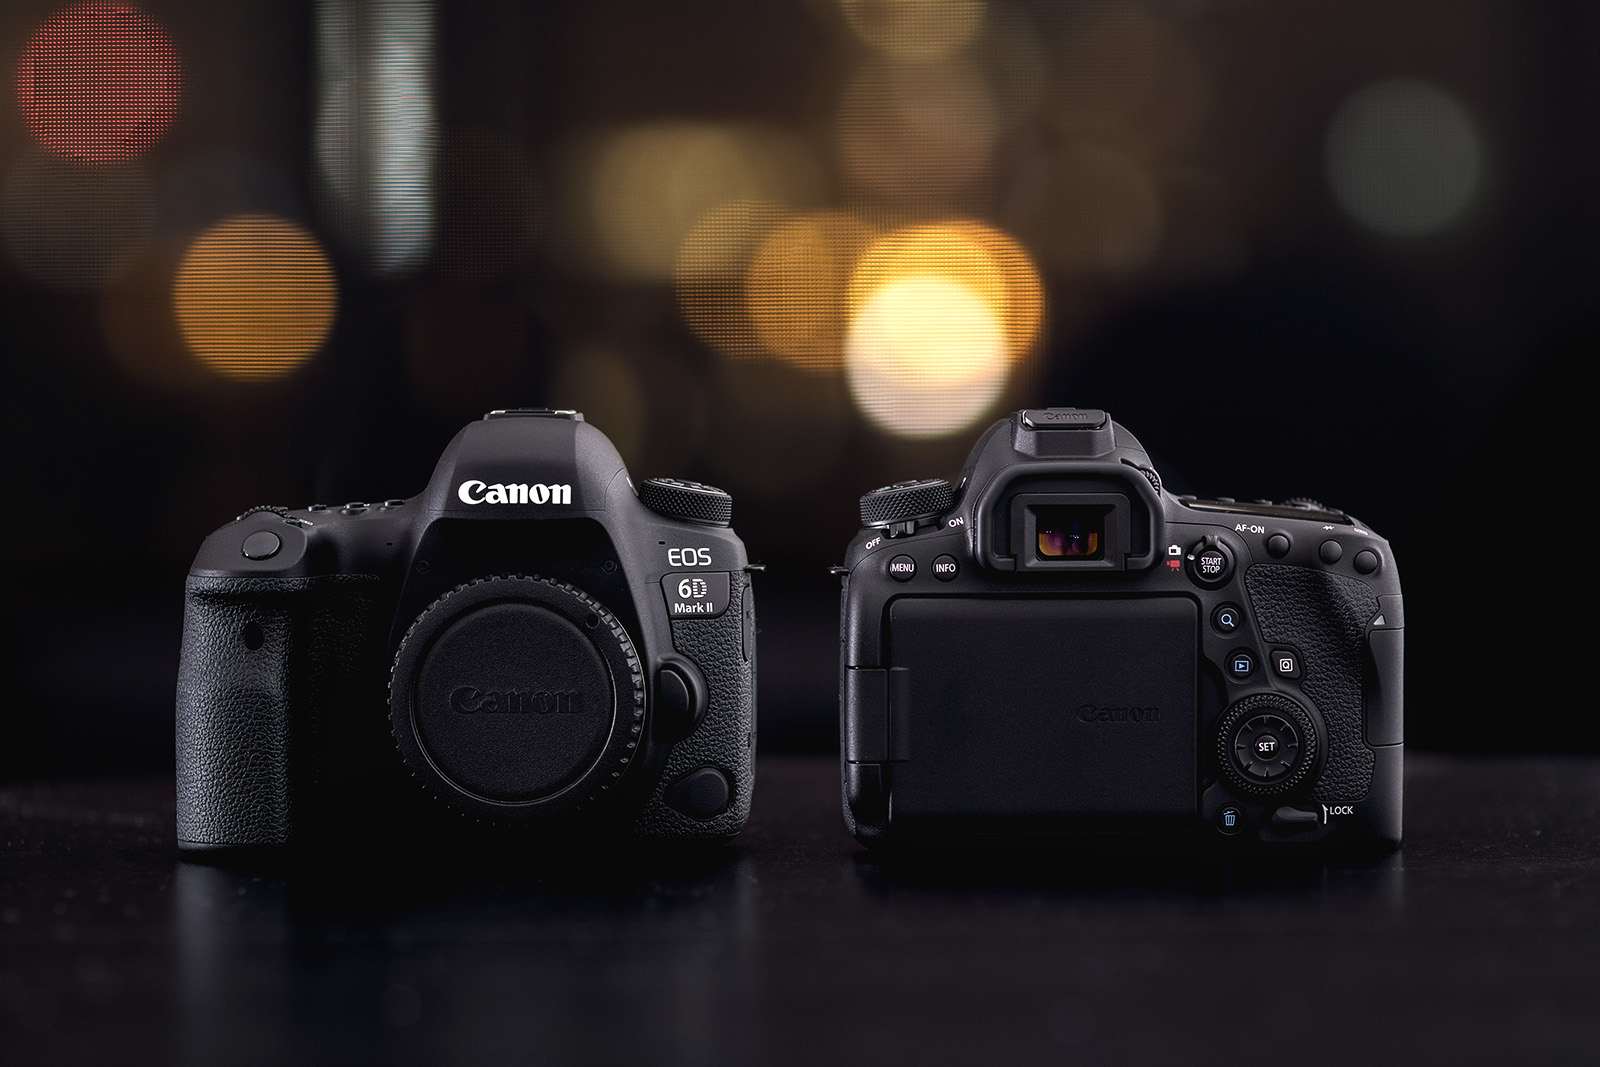
On the Canon M5 you have the option of shooting in AI Servo with continuous focus (the equivalent to AF-C on Sony). I found I had a lot more keepers as critical focus was obtained with almost every shot. Dual Pixel AF (DPAF) is really fast and accurate which honestly made me wonder at times if I even needed to get the 6D Mark II.
Due to the low light performance not being as good as a full frame sensor, I went forward and got the 6D Mark II. It was a great improvement over the 6D in terms of features, but it just didn’t feel like the body I wanted. I really missed the features mirrorless has to offer but I also wanted a full frame sensor. This is where the Sony comes in.
Originally I had hoped to add the Sony A7RIII to my kit but due to its high price, saving was taking a long time. In my personal opinion, the A7R series was always more appealing than the A7 series. Older bodies such as the a7II seemed a bit more lackluster in comparison. I would say with the series 3 bodies, this perception definitely changed. The Sony A7III’s release meant there was something that had the features and quality of the A7R series but at a much lower price.
The temptation of the A7III finally got to be too much so I decided to sell my Canon 6D Mark II. I’ve had the Sony for over 6 months now and it has been an interesting journey. I had certain expectations when I first switched and they have changed over the past few months. Here is a review of sorts to share my experience with the Sony system.
Build
This is something I wouldn’t usually focus on but since this is a completely different body to what I’m used to, I think it’s worth a mention. A lot of people tend to portray Sony bodies as these more fragile pieces of equipment that don’t have the same sturdiness as a rugged DSLR. From hands on tests that you can find on Youtube, they don’t have the same degree of weather sealing but can still withstand certain conditions. As someone who babies their gear I’m unable to say how well it withstands abuse. I do know that it feels very solid in the hand.
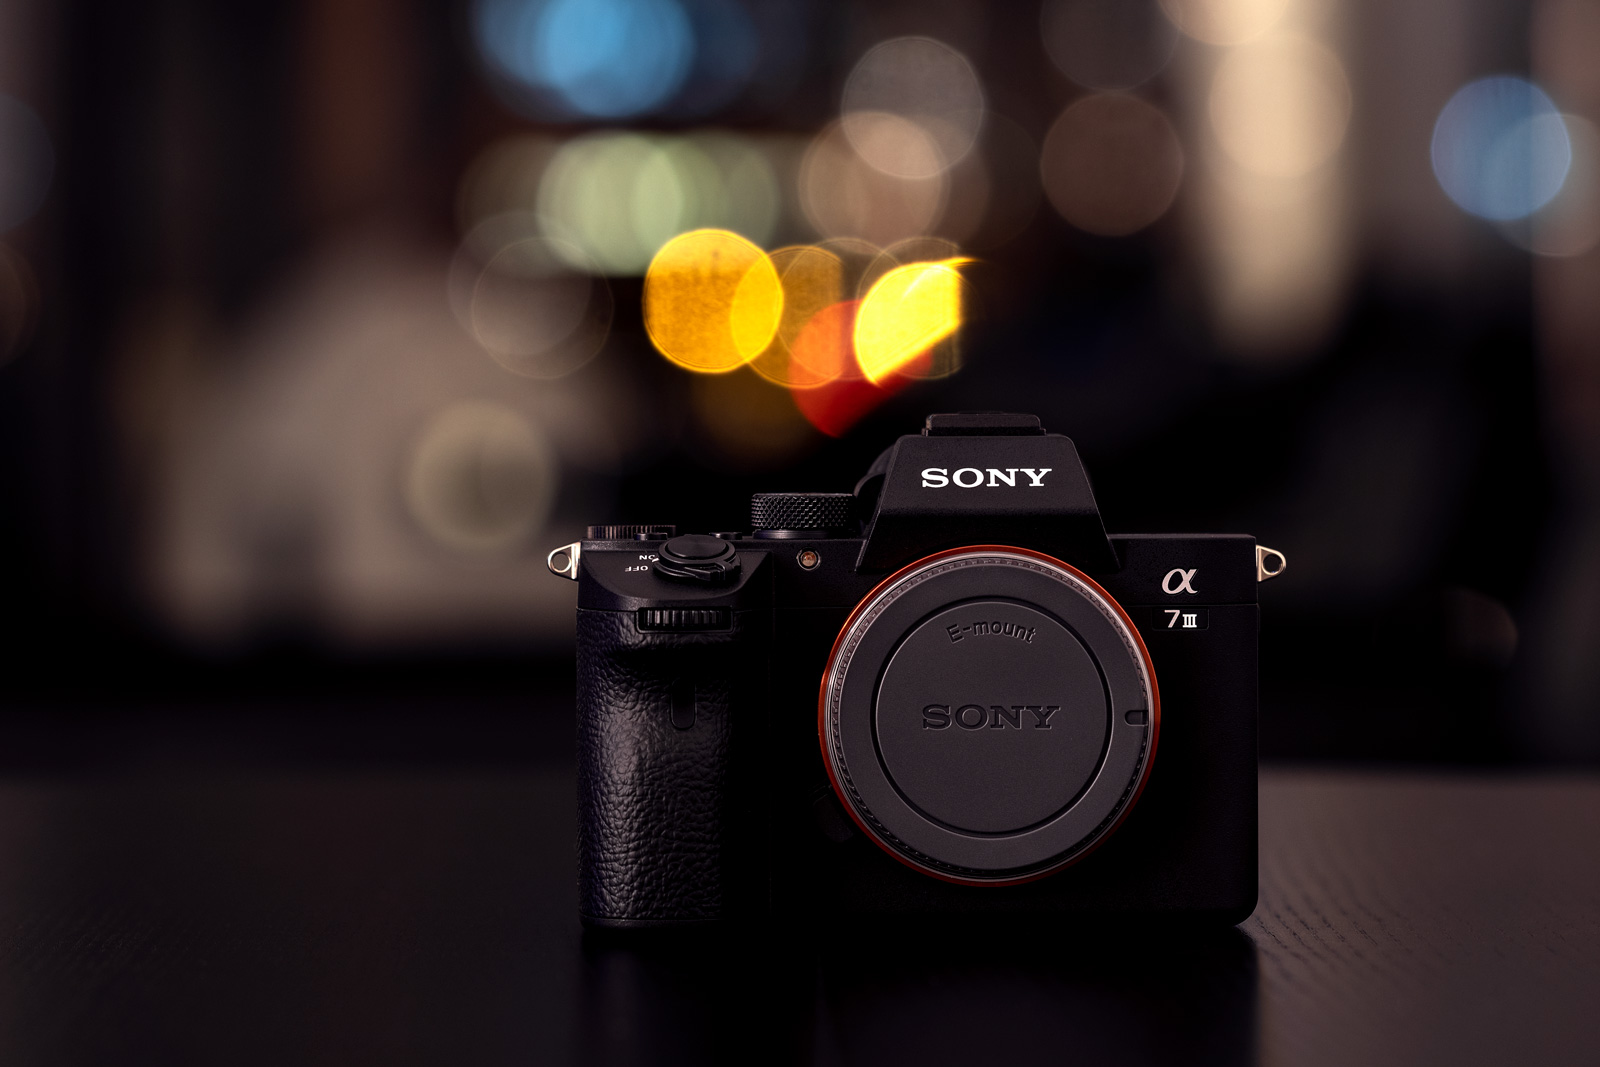
There’s a few things I quite like about the A7III in comparison to my Canon bodies which are small but I see as being a nice touch. The first is the hot shoe cover. A hotshoe cover was included on my Canon M5 but sadly not on the 6D2. It’s a very small item and that probably costs a few cents to make but isn’t included with DSLR’s. I was happy to see this when I first unboxed my Sony A7III. The other thing I have grown to love about Sony Bodies is their custom buttons. I originally thought they were unnecessary but it makes changing settings so much easier.
Now comes to my main and only real disappointment. The rear LCD screen. The Canon M5 has a vari-angle display which is quite handy, but not as great as the fully articulating screen (like on the Canon 6D Mark II). In comes the Sony A7III which does have a vari-angle screen, but sadly it isn’t able to reach all the angles that the Canon M5 is able to. The rear screen doesn’t appear to have the same quality either. This is definitely a disappointment but not a deal breaker as I got this body to use the EVF.

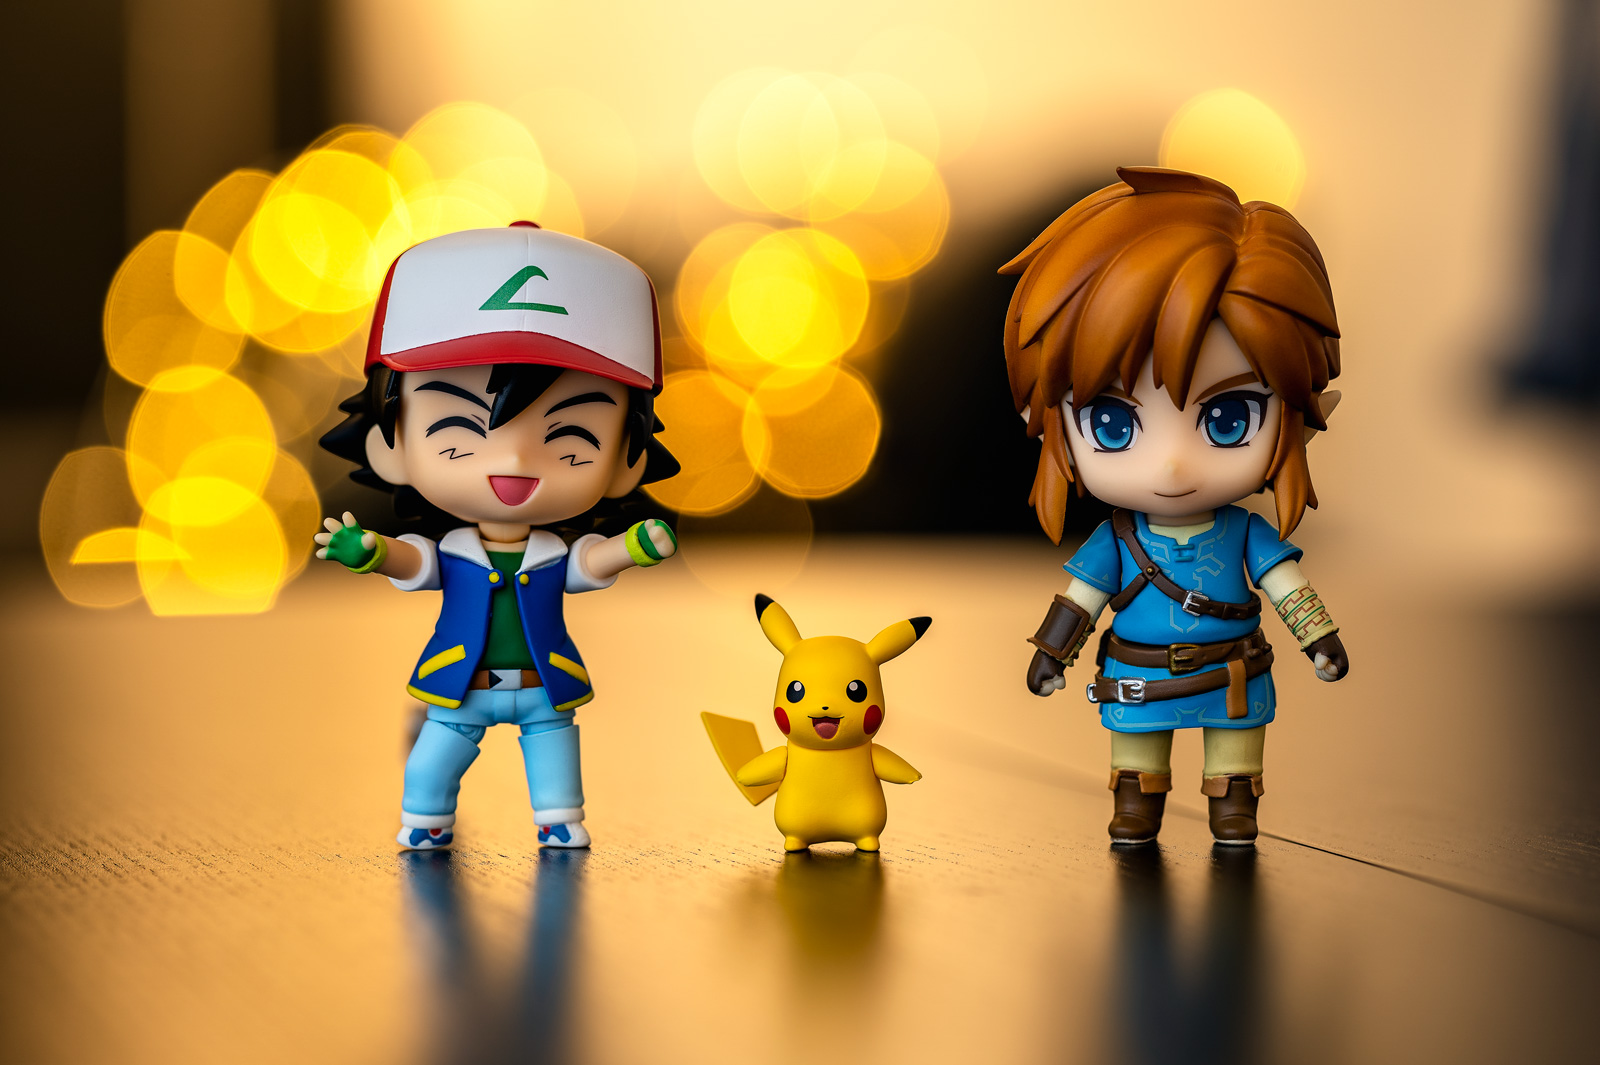
Sony A7III + Sony 85mm f/1.8 @ f/2.8 – ISO 100 – 1/3rdAn articulating screen does have its advantages outside of vlogging for those that seem doubtful. In many of my still life photos, I hold items in the background such as fairy lights to create bokeh. With the articulating screen, I could simply turn it around and see what I was doing rather than guessing like I do on the A7III.
There is also the added advantage of being able to hold the camera at high or low angles without having to kneel down. A solution to this issue would be the Play Memories app which is available on Android and iOS. I have tried this before and it does work. I still prefer having the articulating screen on camera.
Autofocus
This was a topic that I couldn’t go into much detail up until a few months ago. This was due to the lack of native lenses in my kit. For the majority of my time with the A7III I have been using my Canon lenses adapted with the Sigma MC-11. This changed recently when I decided to sell off some of my Canon lenses and replace them with native options. I’ll now break this autofocus section down into two sections, native lenses and adapted lenses.
Adapted Lenses
As mentioned before, I chose the Sigma MC-11 as my adapter due to two reasons. The first reason being the price compared to the Metabones adapter which appears to be the most popular. I had 4 Canon EF lenses, the 16-35mm f/4L IS, Canon EF 100mm f/2.8L IS, Canon EF 35mm f/2 IS and Sigma 85mm f/1.4 EX DG. Two of these lenses, the 35mm and 85mm primes, I planned to swap with native options within a month. The remaining two lenses were mostly used in manual focus and didn’t require AF for their applications. Because of this I wasn’t too concerned with AF accuracy. These factors led me to choose the MC-11 which honestly performed better than I expected. My impressions with each lens are as follows.
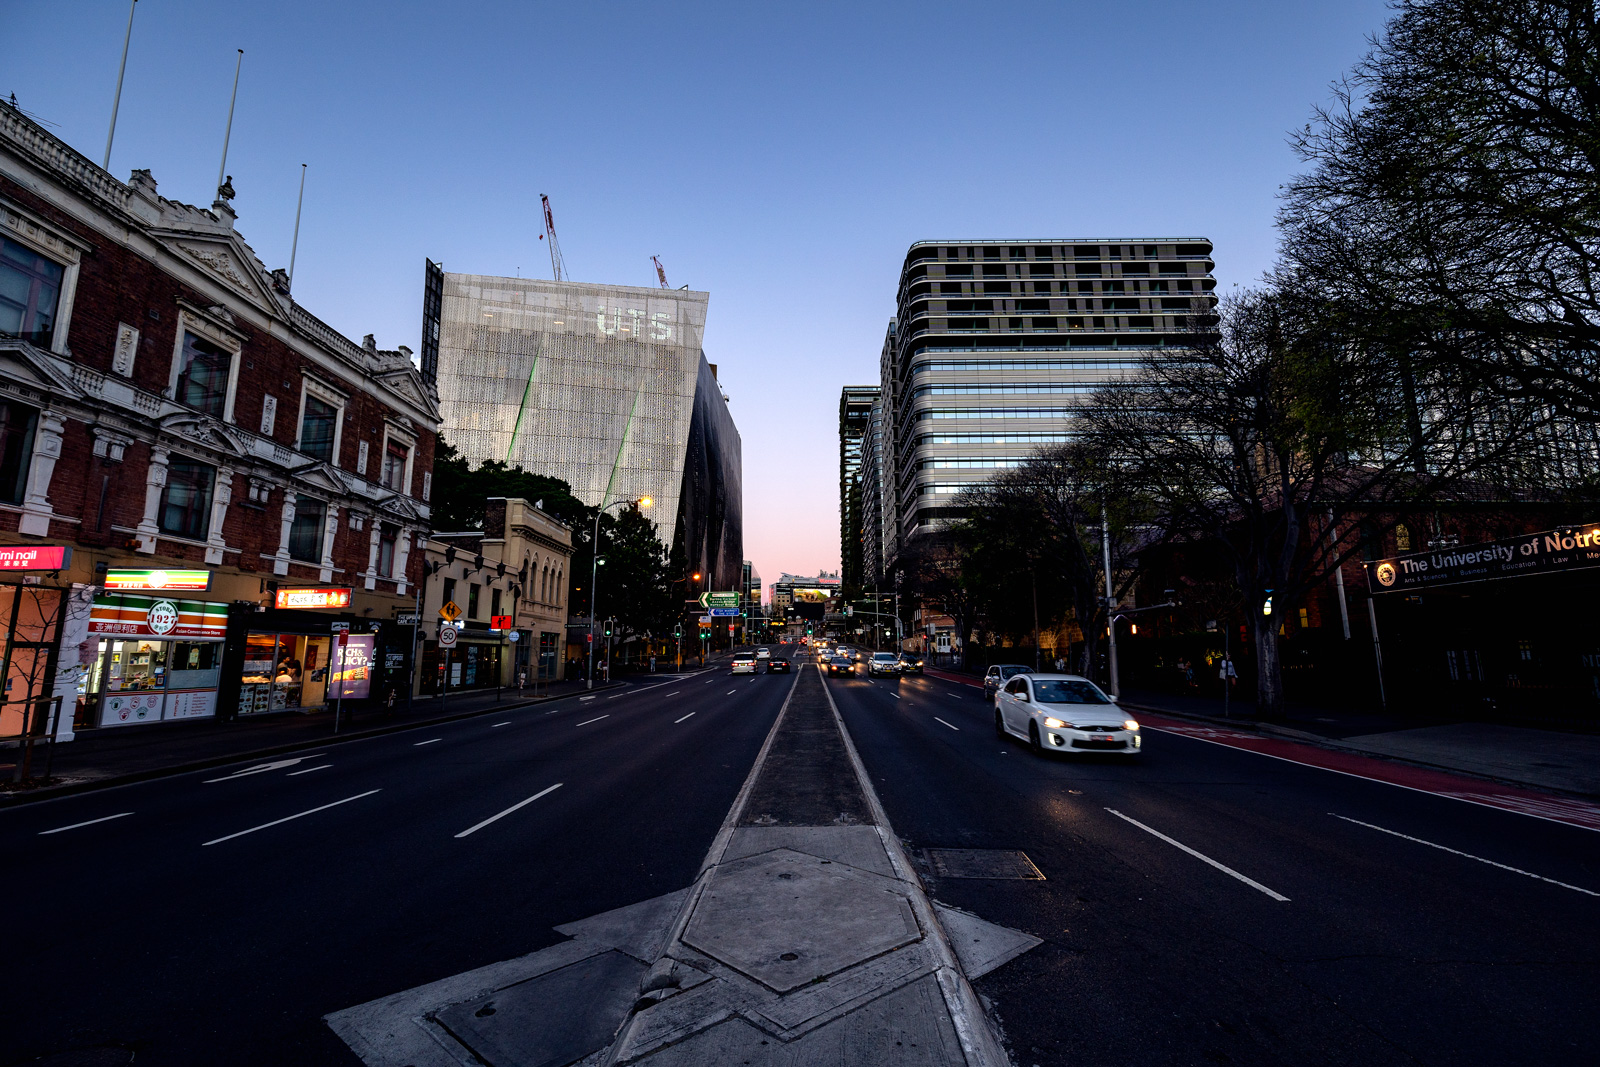
Canon 16-35mm f/4L IS – I don’t use this lens or do long exposures as much these days but when I did use this lens, I had no performance issues. It is commonly reported that when using Ultra Wide Angle lenses via an adapter, it can cause the image to be soft in the extreme corners.
I personally did not notice any degradation in image quality but I did find AF to be not as responsive in AF-S and AF-C. Considering this lens is mostly used in manual focus on a tripod, I never found it to be a deterrent to using this lens. Also to clarify, when I say that the AF is less responsive, it is maybe a tiny bit slower compared to my native lenses but definitely not unusable or any major issues.
Canon EF 100mm f/2.8L IS – This is another lens that is almost always used in manual focus. In the times I have tried using the AF simply to obtain focus for my product shots, it has been accurate and decently fast. I only used the lens in AF-S and when I did try AF-C as few times it did have more issues obtaining focus. Image quality wise I had no issue with this lens.
Canon EF 35mm f/2 IS – I think it is fair to say that up until now, this lens has been my all time favorite. Despite this strong love and attachment for this lens, I was ready to sell it in exchange for the Sigma 35mm f/1.4 Art in native E mount.
The 35 Art’s release date kept getting pushed back which resulted in the Canon being used more. This turned out to be a good thing. The performance was so good and I was so happy with it I cancelled my preorder for the Art lens and decided to stick with it. Image quality wise, I found this lens to perform even better than on my DSLR’s due to the fact I didn’t have to worry about AFMA (autofocus micro adjust).
I never got to try the Sigma 85mm f/1.4 as I sold it just before I received the Sony. It was another lens that I really loved but due to the f/1.4 aperture and being a Sigma lens in general, I wanted something smaller that I could easily carry around without breaking my arm and back. This now leads me into the next section of the autofocus performance.
Native Lenses
For this section I will just give my general perspective on the native Sony options that I own. The three lenses that I currently own are the
- Sony FE 85mm f/1.8
- Tamron 28-75mm f/2.8 Di III RXD
- Sony FE 90mm f/2.8 G Macro OSS
I have owned the 85mm the longest and the 90mm for only a few days but all 3 lenses have performed excellently in my usage. For the times that I have taken portraits, Eye AF has been super fast and accurate. It’s also worth mentioning that Eye AF does appear to work at a greater distance with native lenses compared to adapted.

For general shooting I use Wide Area with AF-C. This usually focuses on the spot I want. In instances it doesn’t, I just use the touch and drag AF feature to highlight what I want in focus. Personally I found the touch and drag AF to be more responsive on the Canon EOS M5 but it still works how I need it to.
Recently I have been trying to use AF-S more as continuous focus isn’t really needed in situations there isn’t any movement. While testing this method, I found AF-C to be faster to obtain critical focus. It also makes up for any movement between when you obtain focus and press the shutter. Flexible Spot M is another mode I tried with good results. The joystick works well and makes it quick to change points but I still prefer wide with touch and drag.
I haven’t done much low light shooting with the A7III but with the small amount I have shot, it has done well. In saying this, you need to watch your exposure as this body does not feature stop down focusing. For those who aren’t familiar with the term or feature, I will give a brief explanation. If your lens has a wide max aperture of say f/1.8 but you are shooting at f/4 in low light, your camera will open the aperture to it’s widest value to let in more light. Once it obtains critical focus it stops the aperture back down before taking the picture. This is mostly beneficial in low light and if you are like me and almost always shoot wide open, you won’t notice much of a difference.
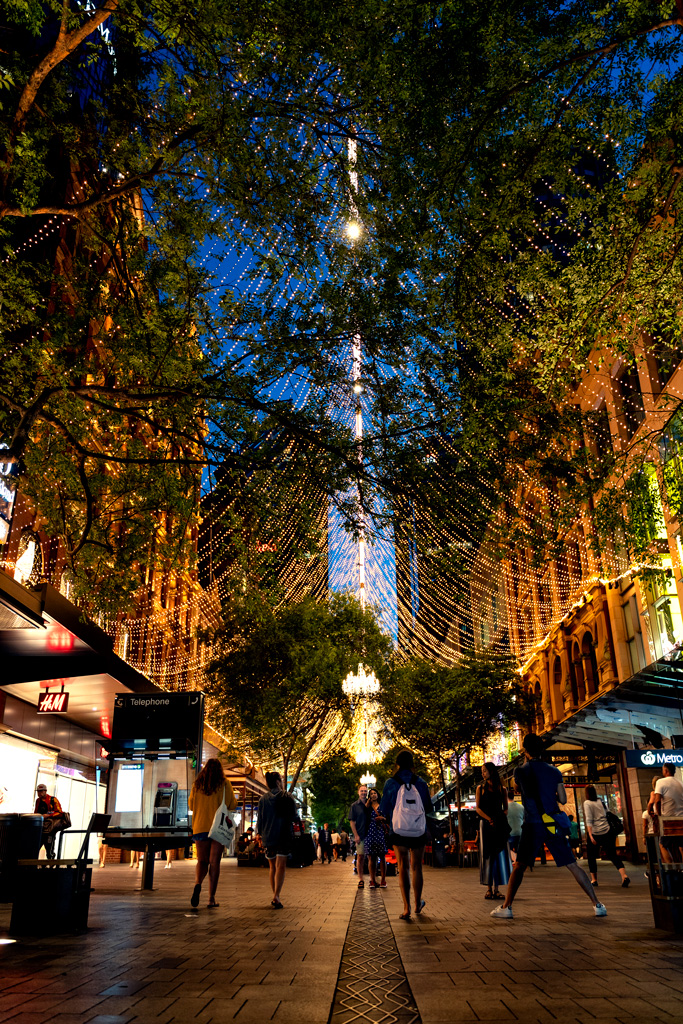
Overall I would definitely say I am happy with the AF performance of this Sony body. My type of shooting doesn’t really require tracking or anything too complex but for my uses it definitely exceeds expectations.
Image Quality
I could go on and on about how good this sensor is and how much dynamic range it has but I believe actions speak louder than words. In saying that, here are some examples of what you can do with the amazing sensor on the Sony A7III. For the first image you can see it is very flat strait out of camera (SOOC). I shot it like this just as a test to see how the camera handles when I expose for the highlights instead of the shadows.


Below is another example which surprised me a bit more. With the sun setting on the in the horizon, I wasn’t able to capture this scene with an even exposure. I thought I would try exposing the way I did and see what was recoverable in Lightroom. In post I managed to pull the shadows by several stops until the exposure was even. I was quite surprised to see that there was virtually no noise or quality loss from shooting his way.


This of course is very subjective and there has been images that I have pushed the shadows by 1 stop and seen a lot of color noise. No sensor is perfect and this is certainly no exception. I personally find there are times you need to be adjust your shooting and editing style when using a different sensor.
At first I tried to shoot exposing for the highlights like many people do. The majority of images taken this way turned out well, although I do find it to be a more difficult way of editing compared to what I’m used to.

What I do if I’m in a situation that has too much dynamic range for an even exposure, I’ll expose somewhere in the middle. As an example, the highlights will be 1-2 stops overexposed which will result in the shadows being underexposed by one stop rather than two. I feel this produces a cleaner image compared to exposing for one or the other. This is also a bit subjective as with some situations I may decide to bracket the images. For example, in cityscapes I’ll do one exposure for the sky, another for the actual buildings and another for the foreground which is often water.
There has been some instances that I found a single exposure had enough dynamic range and produced better results than the bracketed image. In saying this, I’m sure someone with better processing skills could probably make the bracketed images work better.
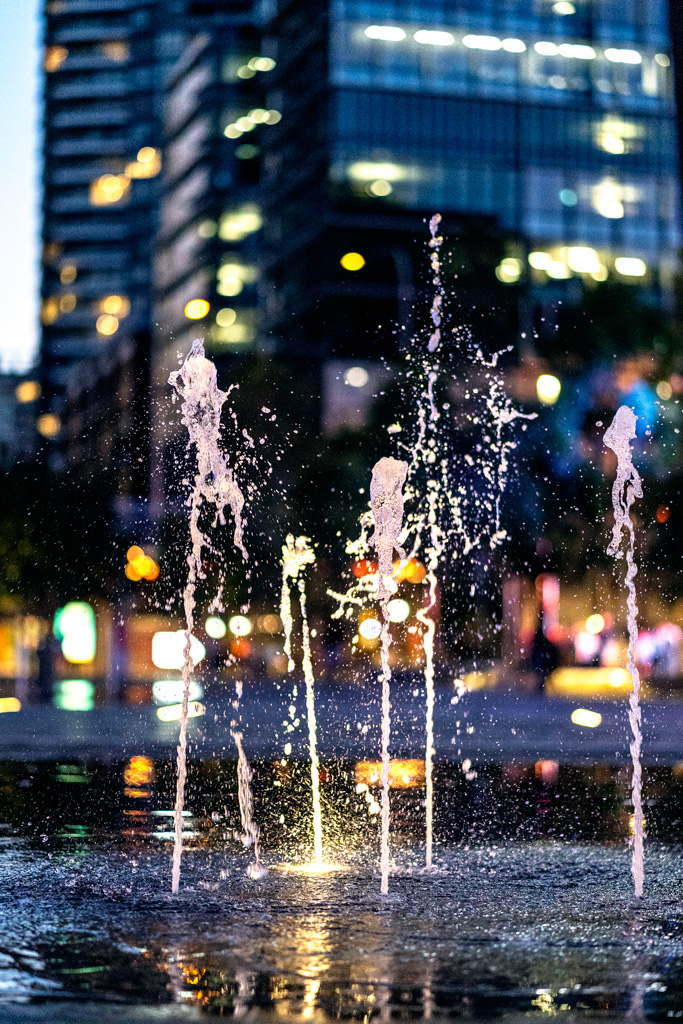
In terms of high ISO use, I have been happy with the performance. There was a time where I would always be at ISO 800 or higher, but I don’t go out at night as much these days which means I’m using my camera at lower ISO’s. Below is an example of an image at ISO 6400 which I find to be more than acceptable in terms of noise.
To summarize everything, the sensor on the Sony A7III is certainly impressive in many situations. Would I say it’s the be all end all and highly superior to sensors from other brands? No it is not. If I was to switch back to the Canon 6D Mark II I would undoubtedly miss all the features this body has to offer but I’m confident I could still produce quality images I’m happy with.
When reviewing images from this sensor against other manufacturers, you won’t see any major difference in most situations if the camera is in the right hands. This is the same for most bodies and specs should never be the deciding factor in your choice of camera, real world use should be.
Sony Ecosystem
Back in May when I got this body I was sure that I would be keeping all my Canon lenses. I planned to run dual brand kits and get the EOS R once released. Since then I have started to really enjoy the Sony system. As a whole it has its strengths and weakness, but no brand is perfect. Although I would say I still prefer the lenses Canon has to offer, Sony has some very appealing options like the Sony 85mm f/1.8, Zeiss 55mm f/1.8 and the Tamron 28-75mm f/2.8. I can see myself sticking with Sony for a very long time to come.
Below are images I have taken using with the Sony A7III and if you have any questions or feedback be sure to leave a comment below. Thanks for reading!
